How to let your Excel users select one item with custom option buttons
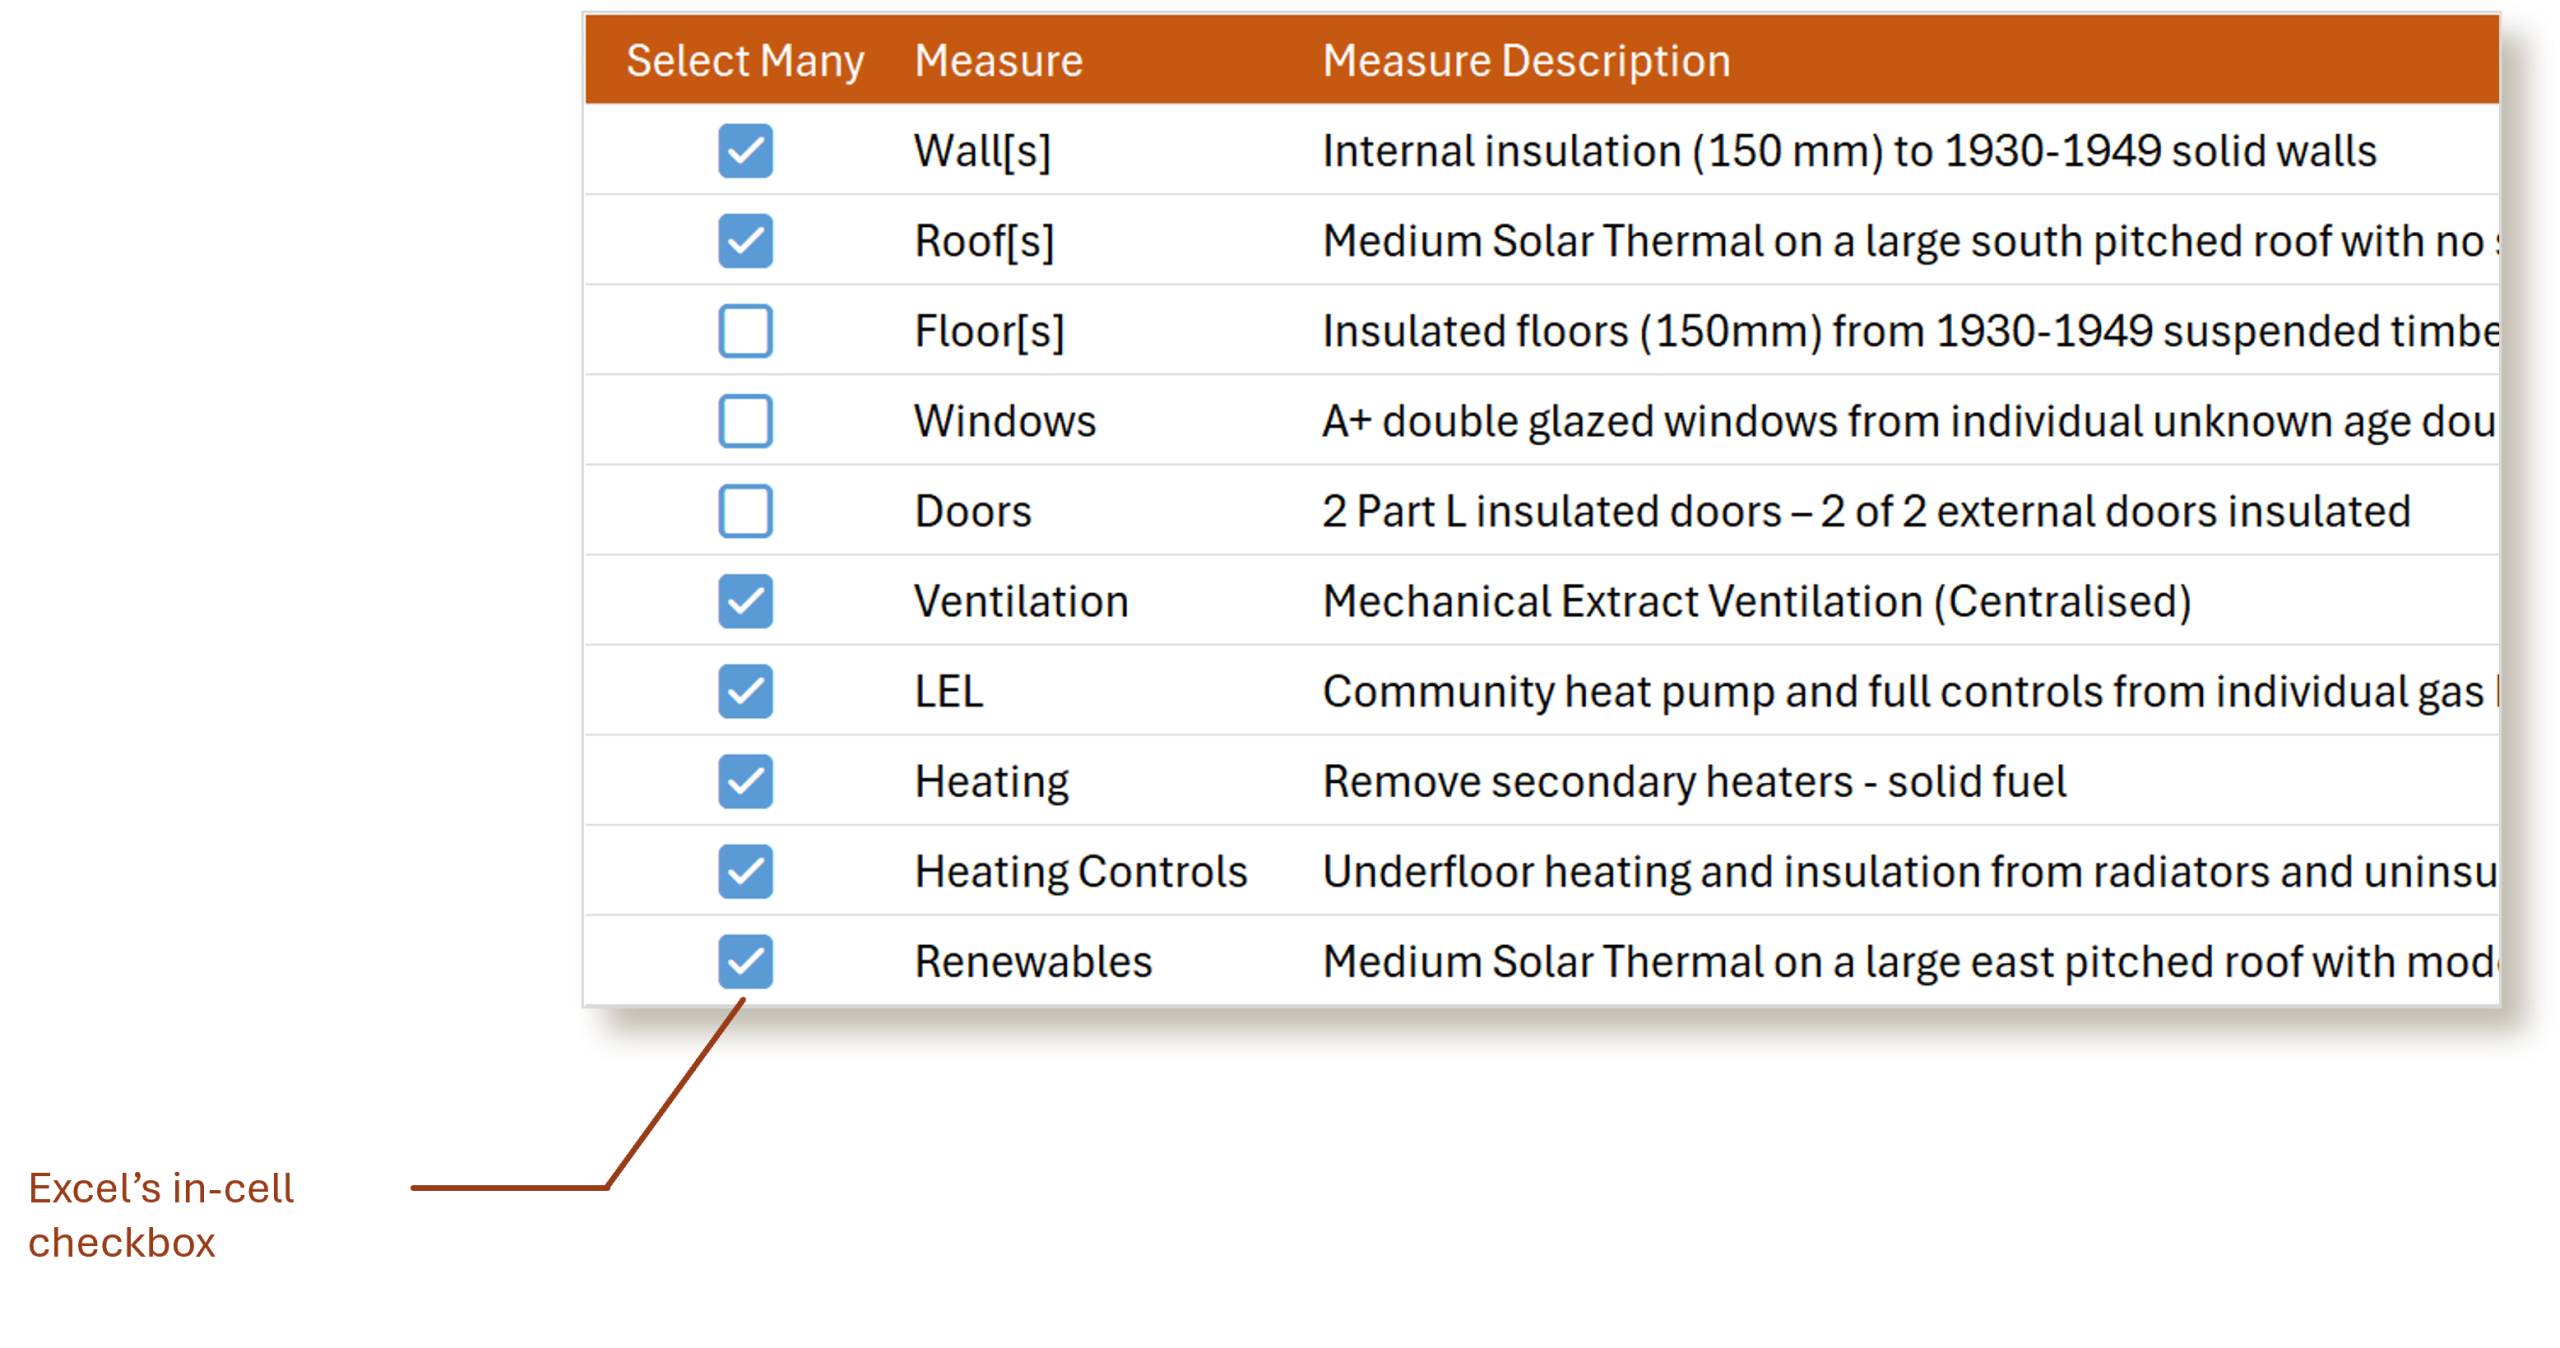
By now, you’re probably familiar with Excel’s checkboxes.
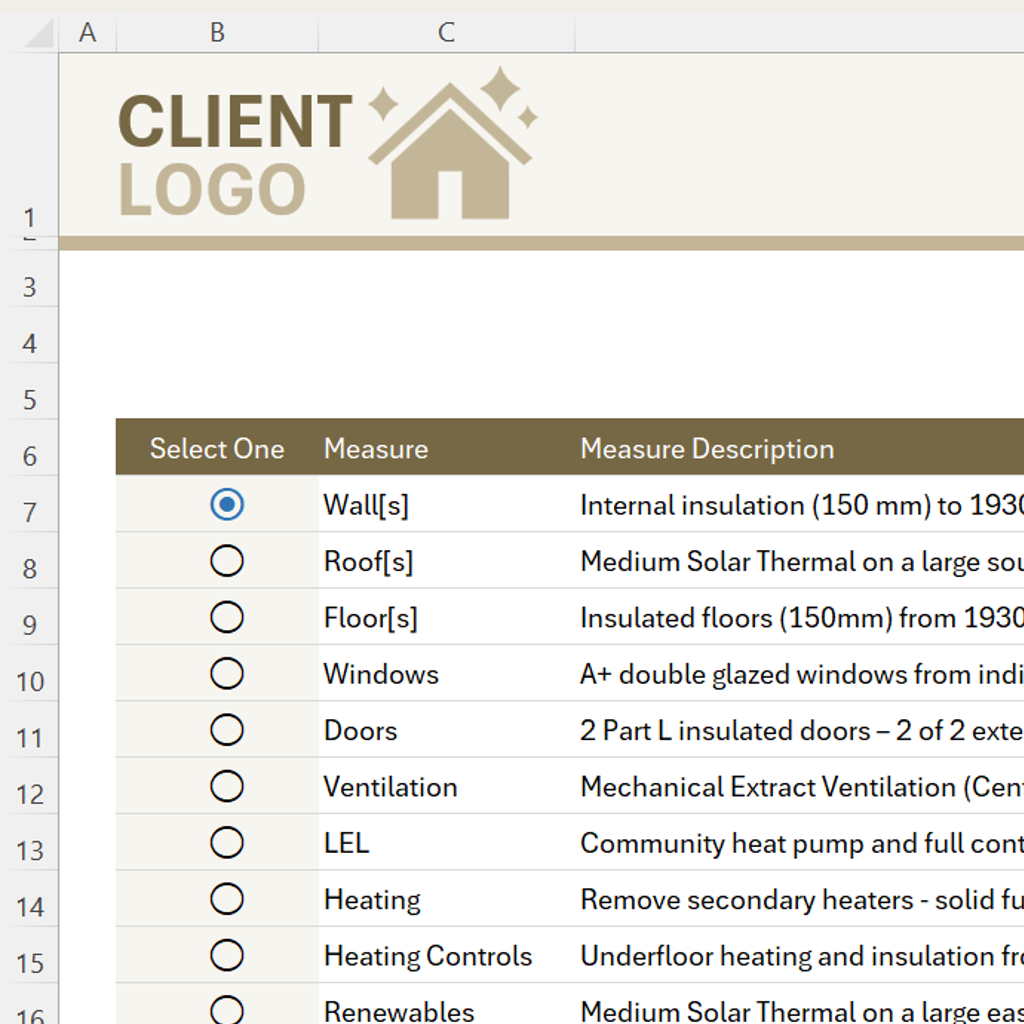
From the Insert ribbon tab, select Checkbox, apply a little formatting and voilà, you have some attractive in-cell checkboxes.
But what if you wanted the option to only select one option?
Yes, I know, you can use Data Validation to select one option. But they don’t display the full-breadth of information you may need to show to provide context; or the option may be part of a larger table.
I also once had a client lament that they wanted the ability to select a single option with one – and only one – mouse click.
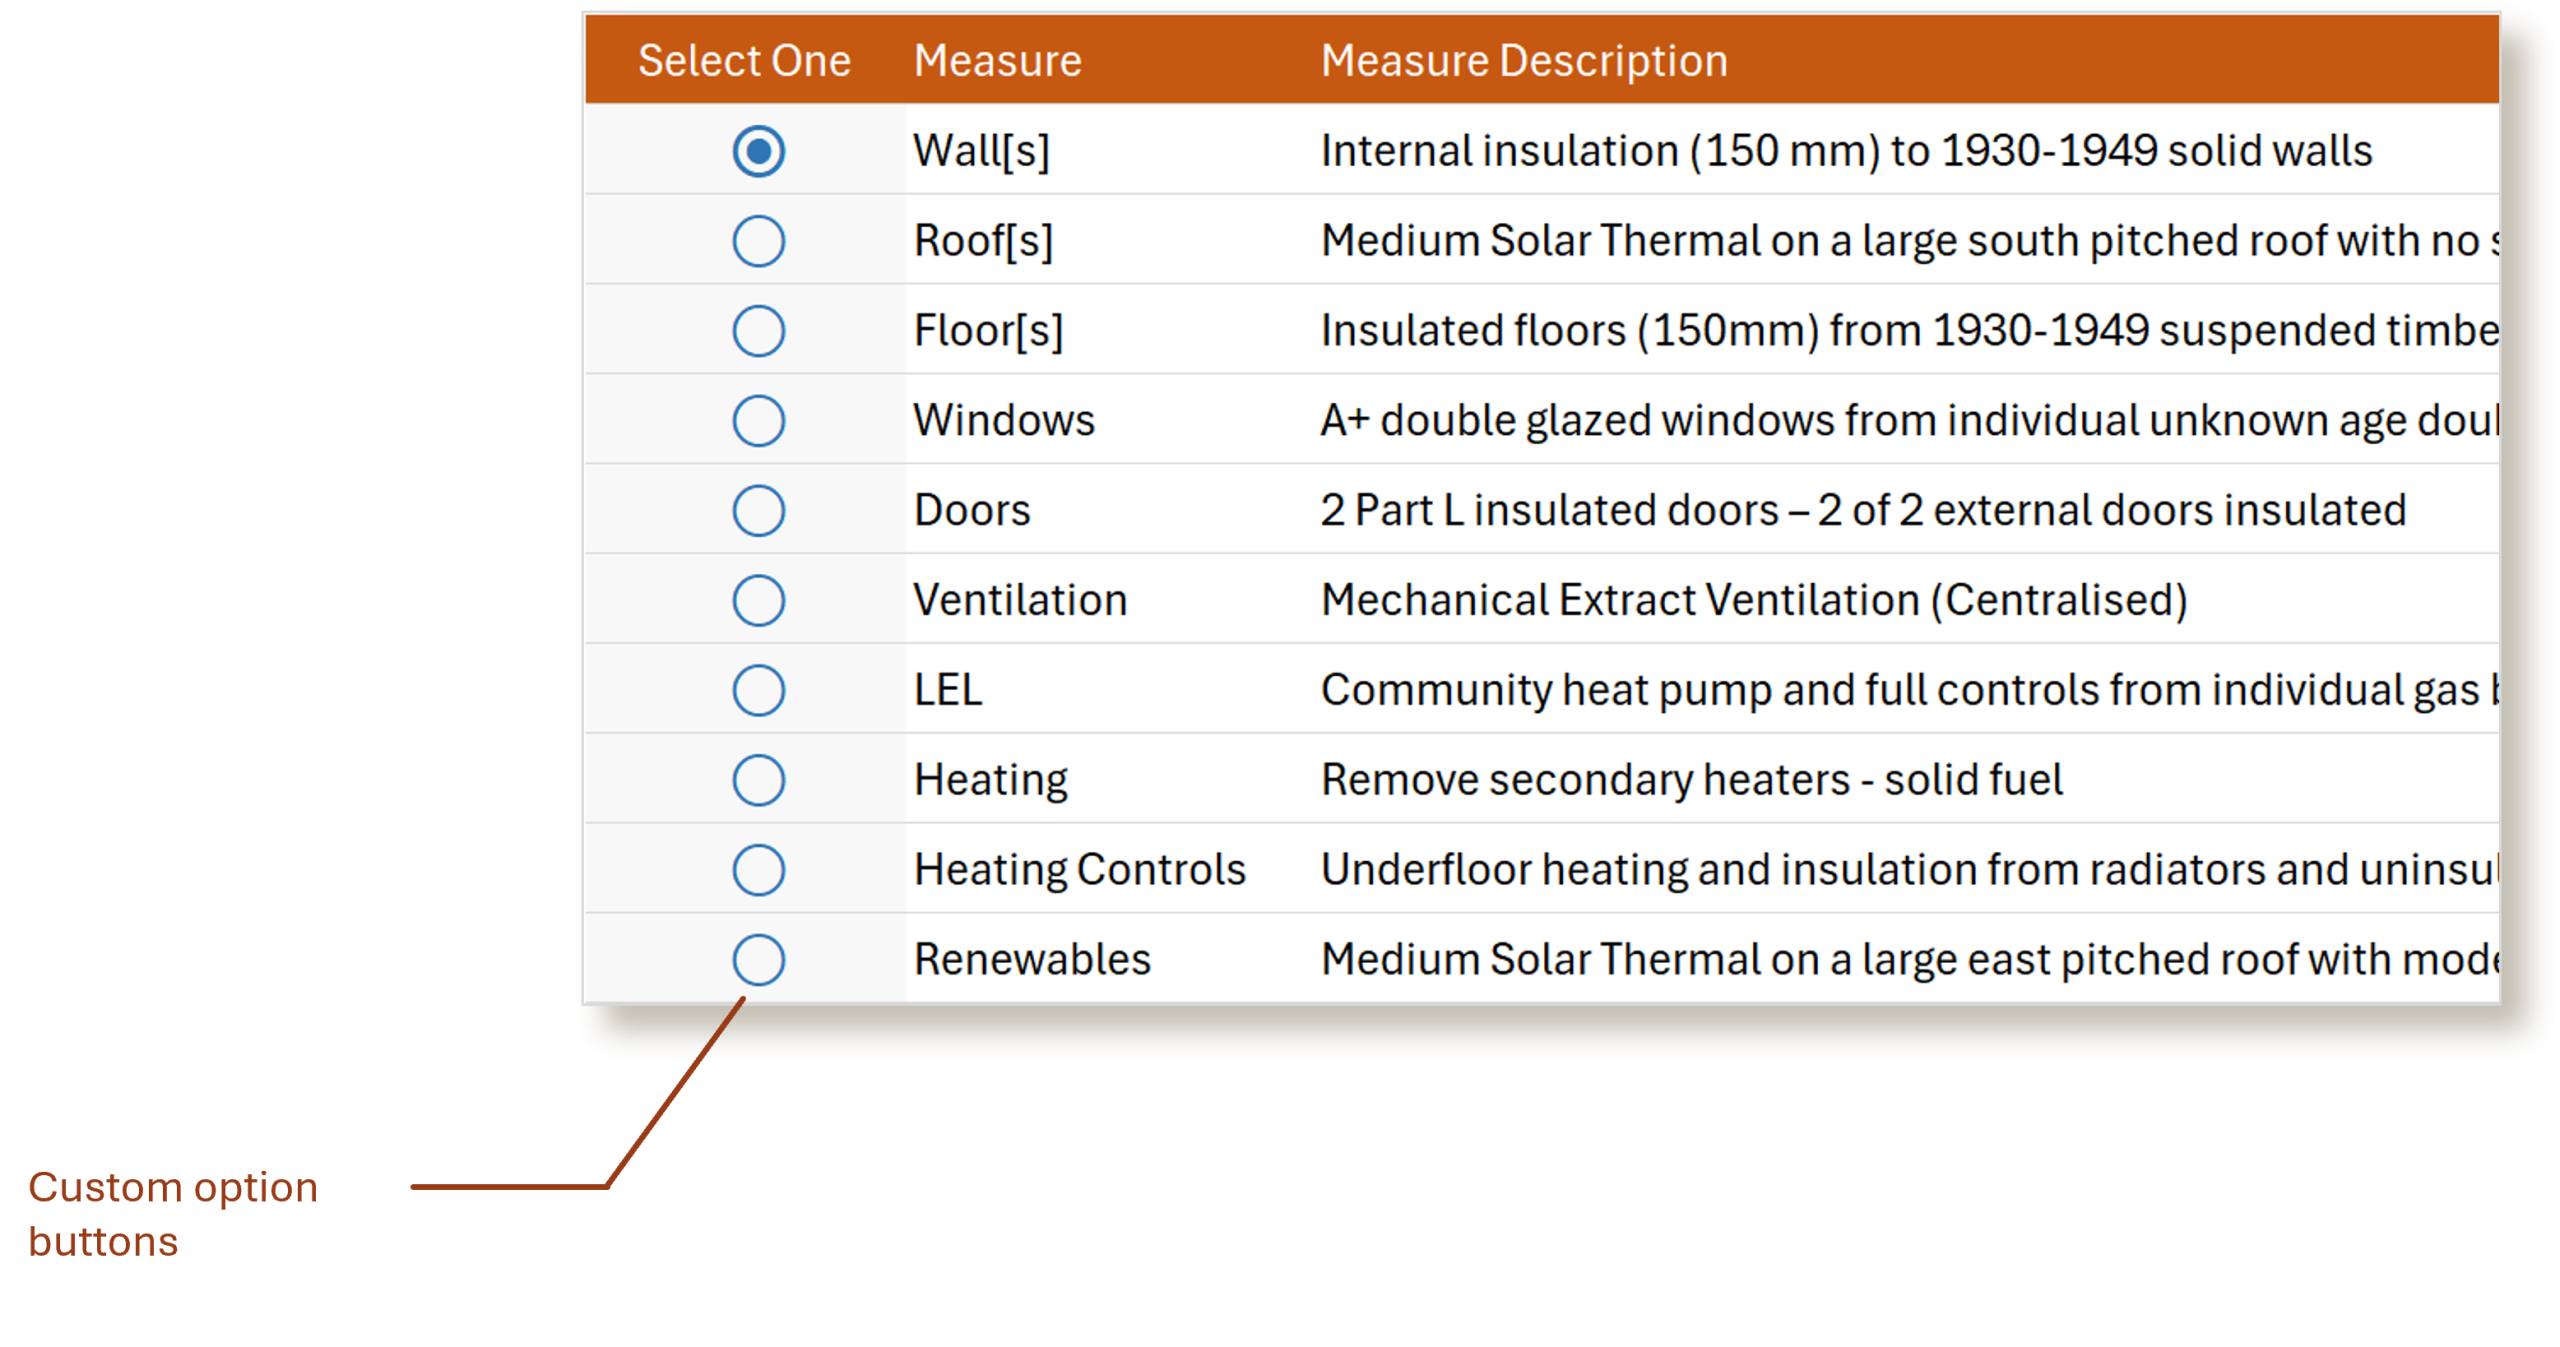
This is where custom option buttons come in.
Custom Option Buttons in Excel
Option button provide your spreadsheet users a single choice using a visual that is familiar.
Technically these aren’t even “buttons” in the sense that they are an object on top of the cell.
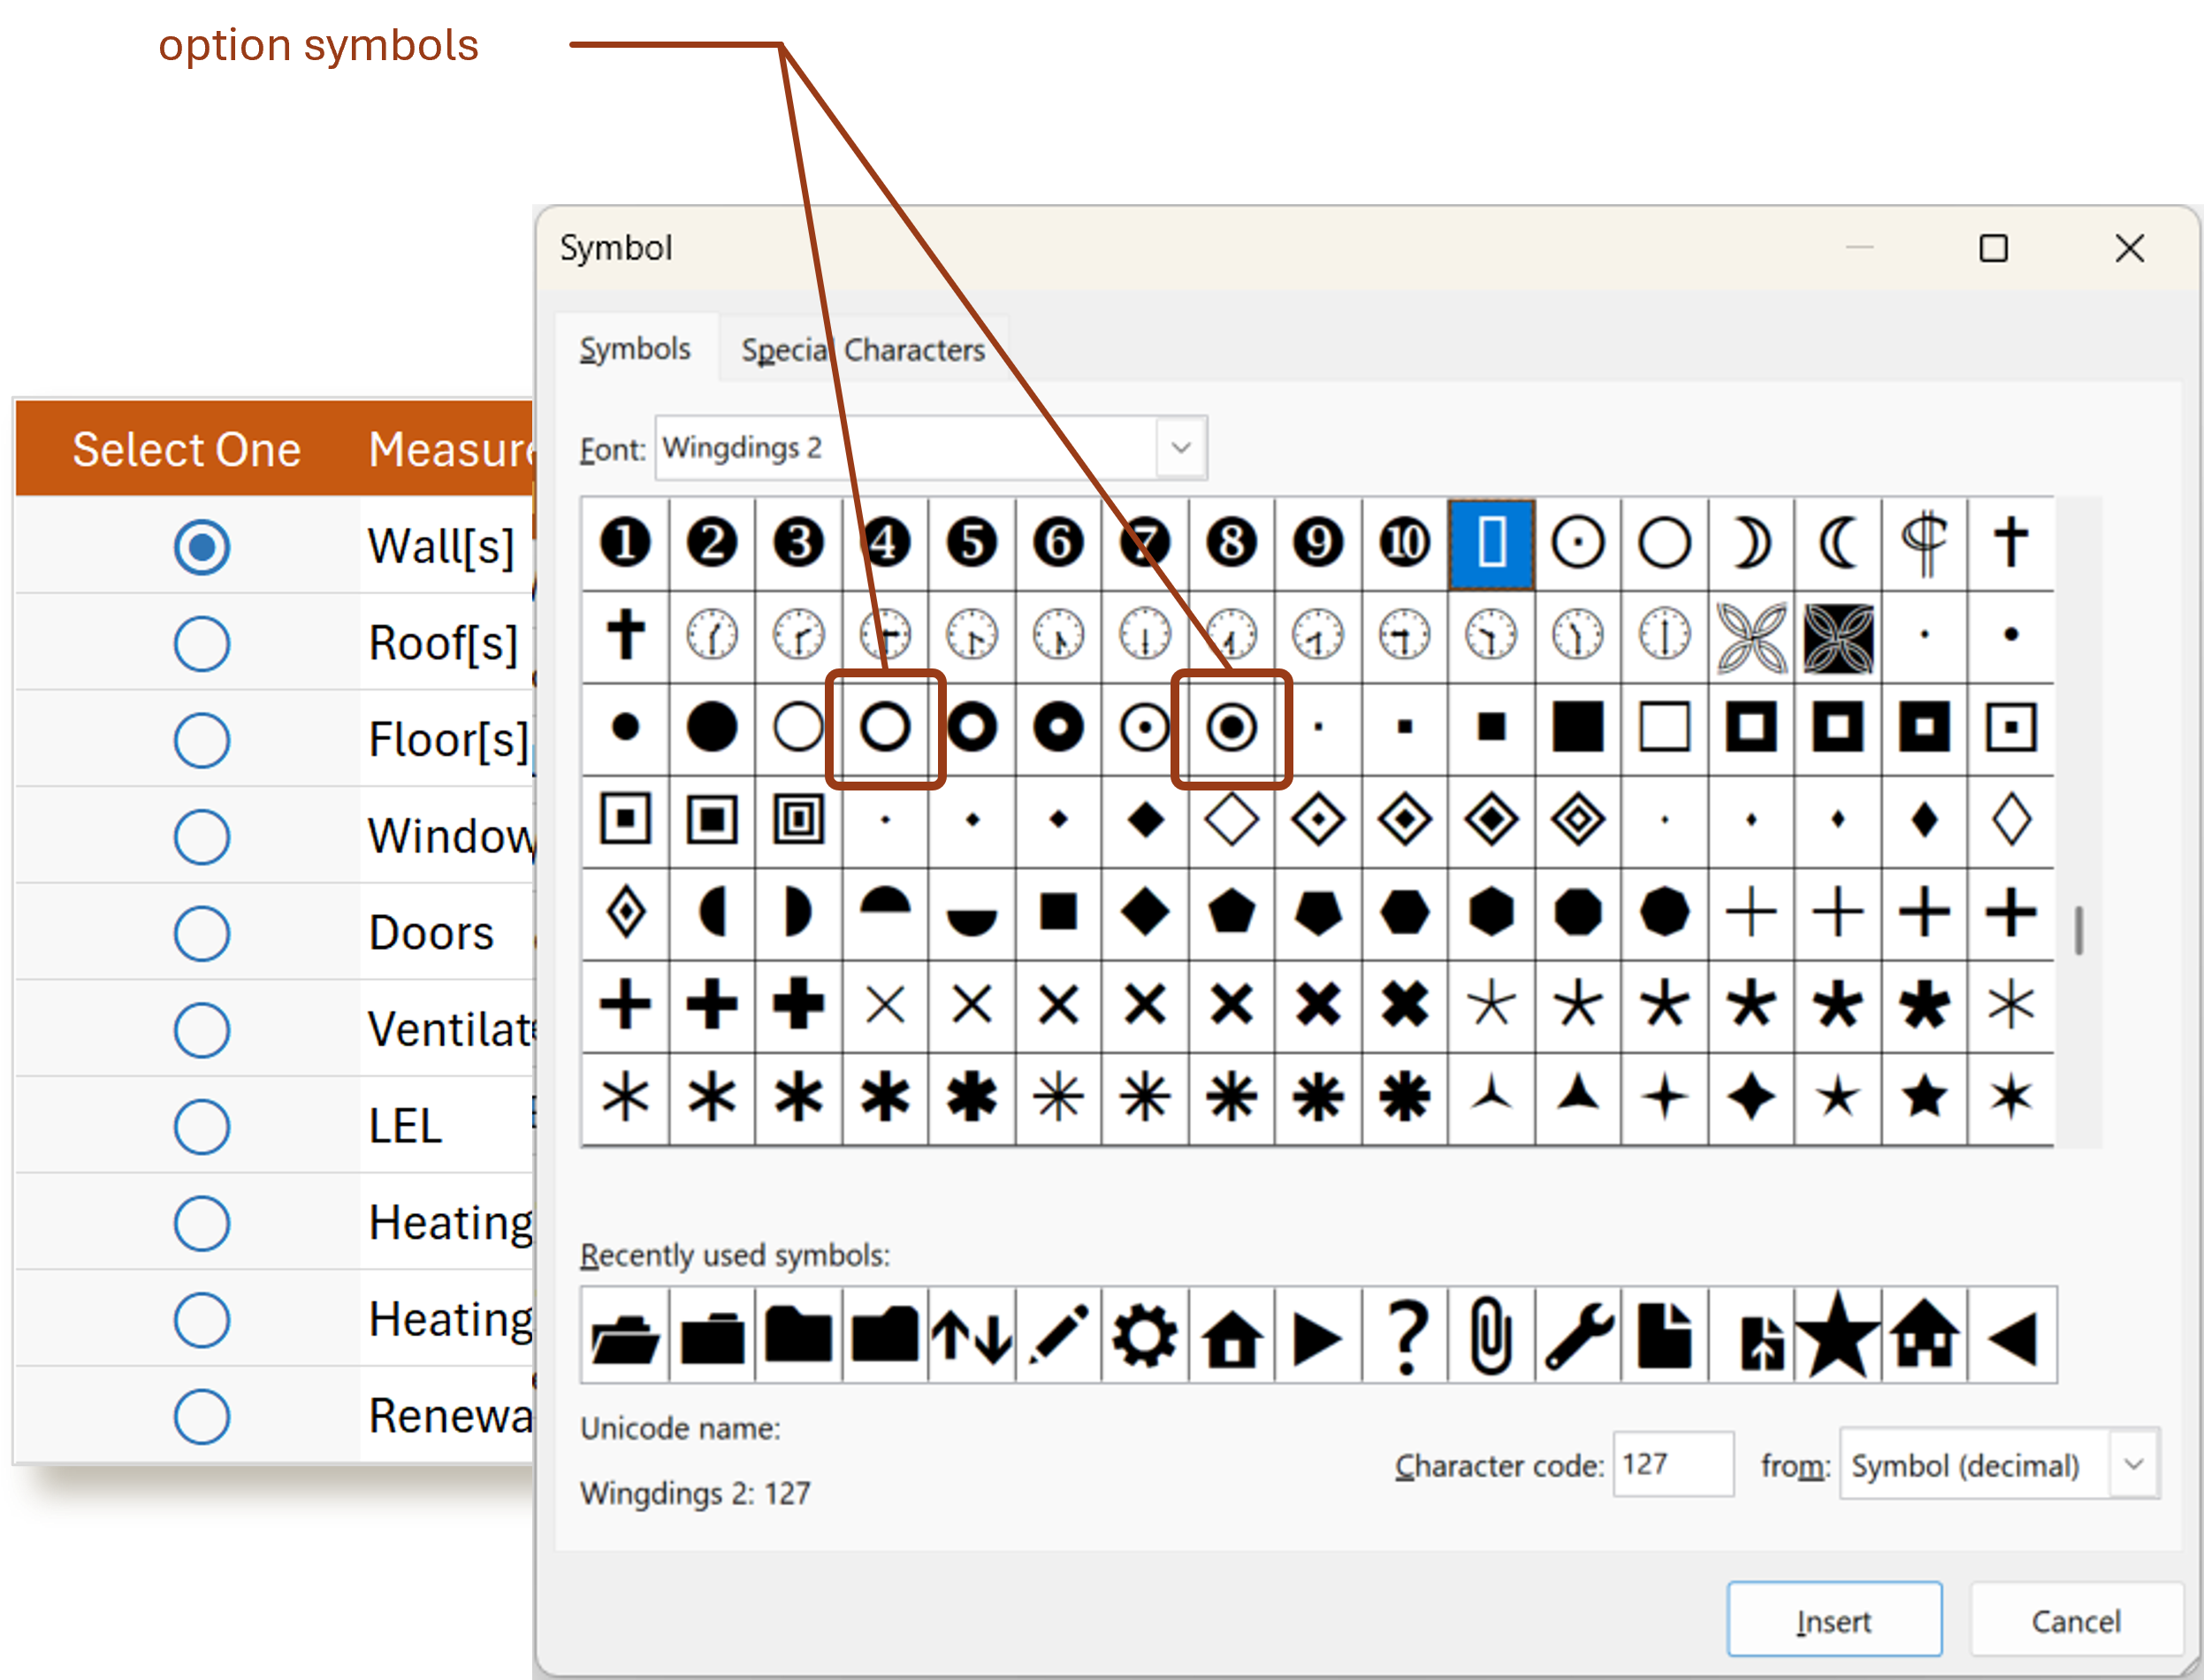
Instead, they’re characters entered in the cell . . .
These option buttons are just characters or symbols.
You can insert them from Excel’s Symbol option under the Insert menu or from Windows’ Character Map. You’ll find them in the Wingdings 2 font.
To make these custom option buttons work, we’ll need two pieces of VBA code. The first to trigger the “click”. That is, recognising when someone “clicks” one of the option buttons.
The second to change which option button has been selected on the screen.
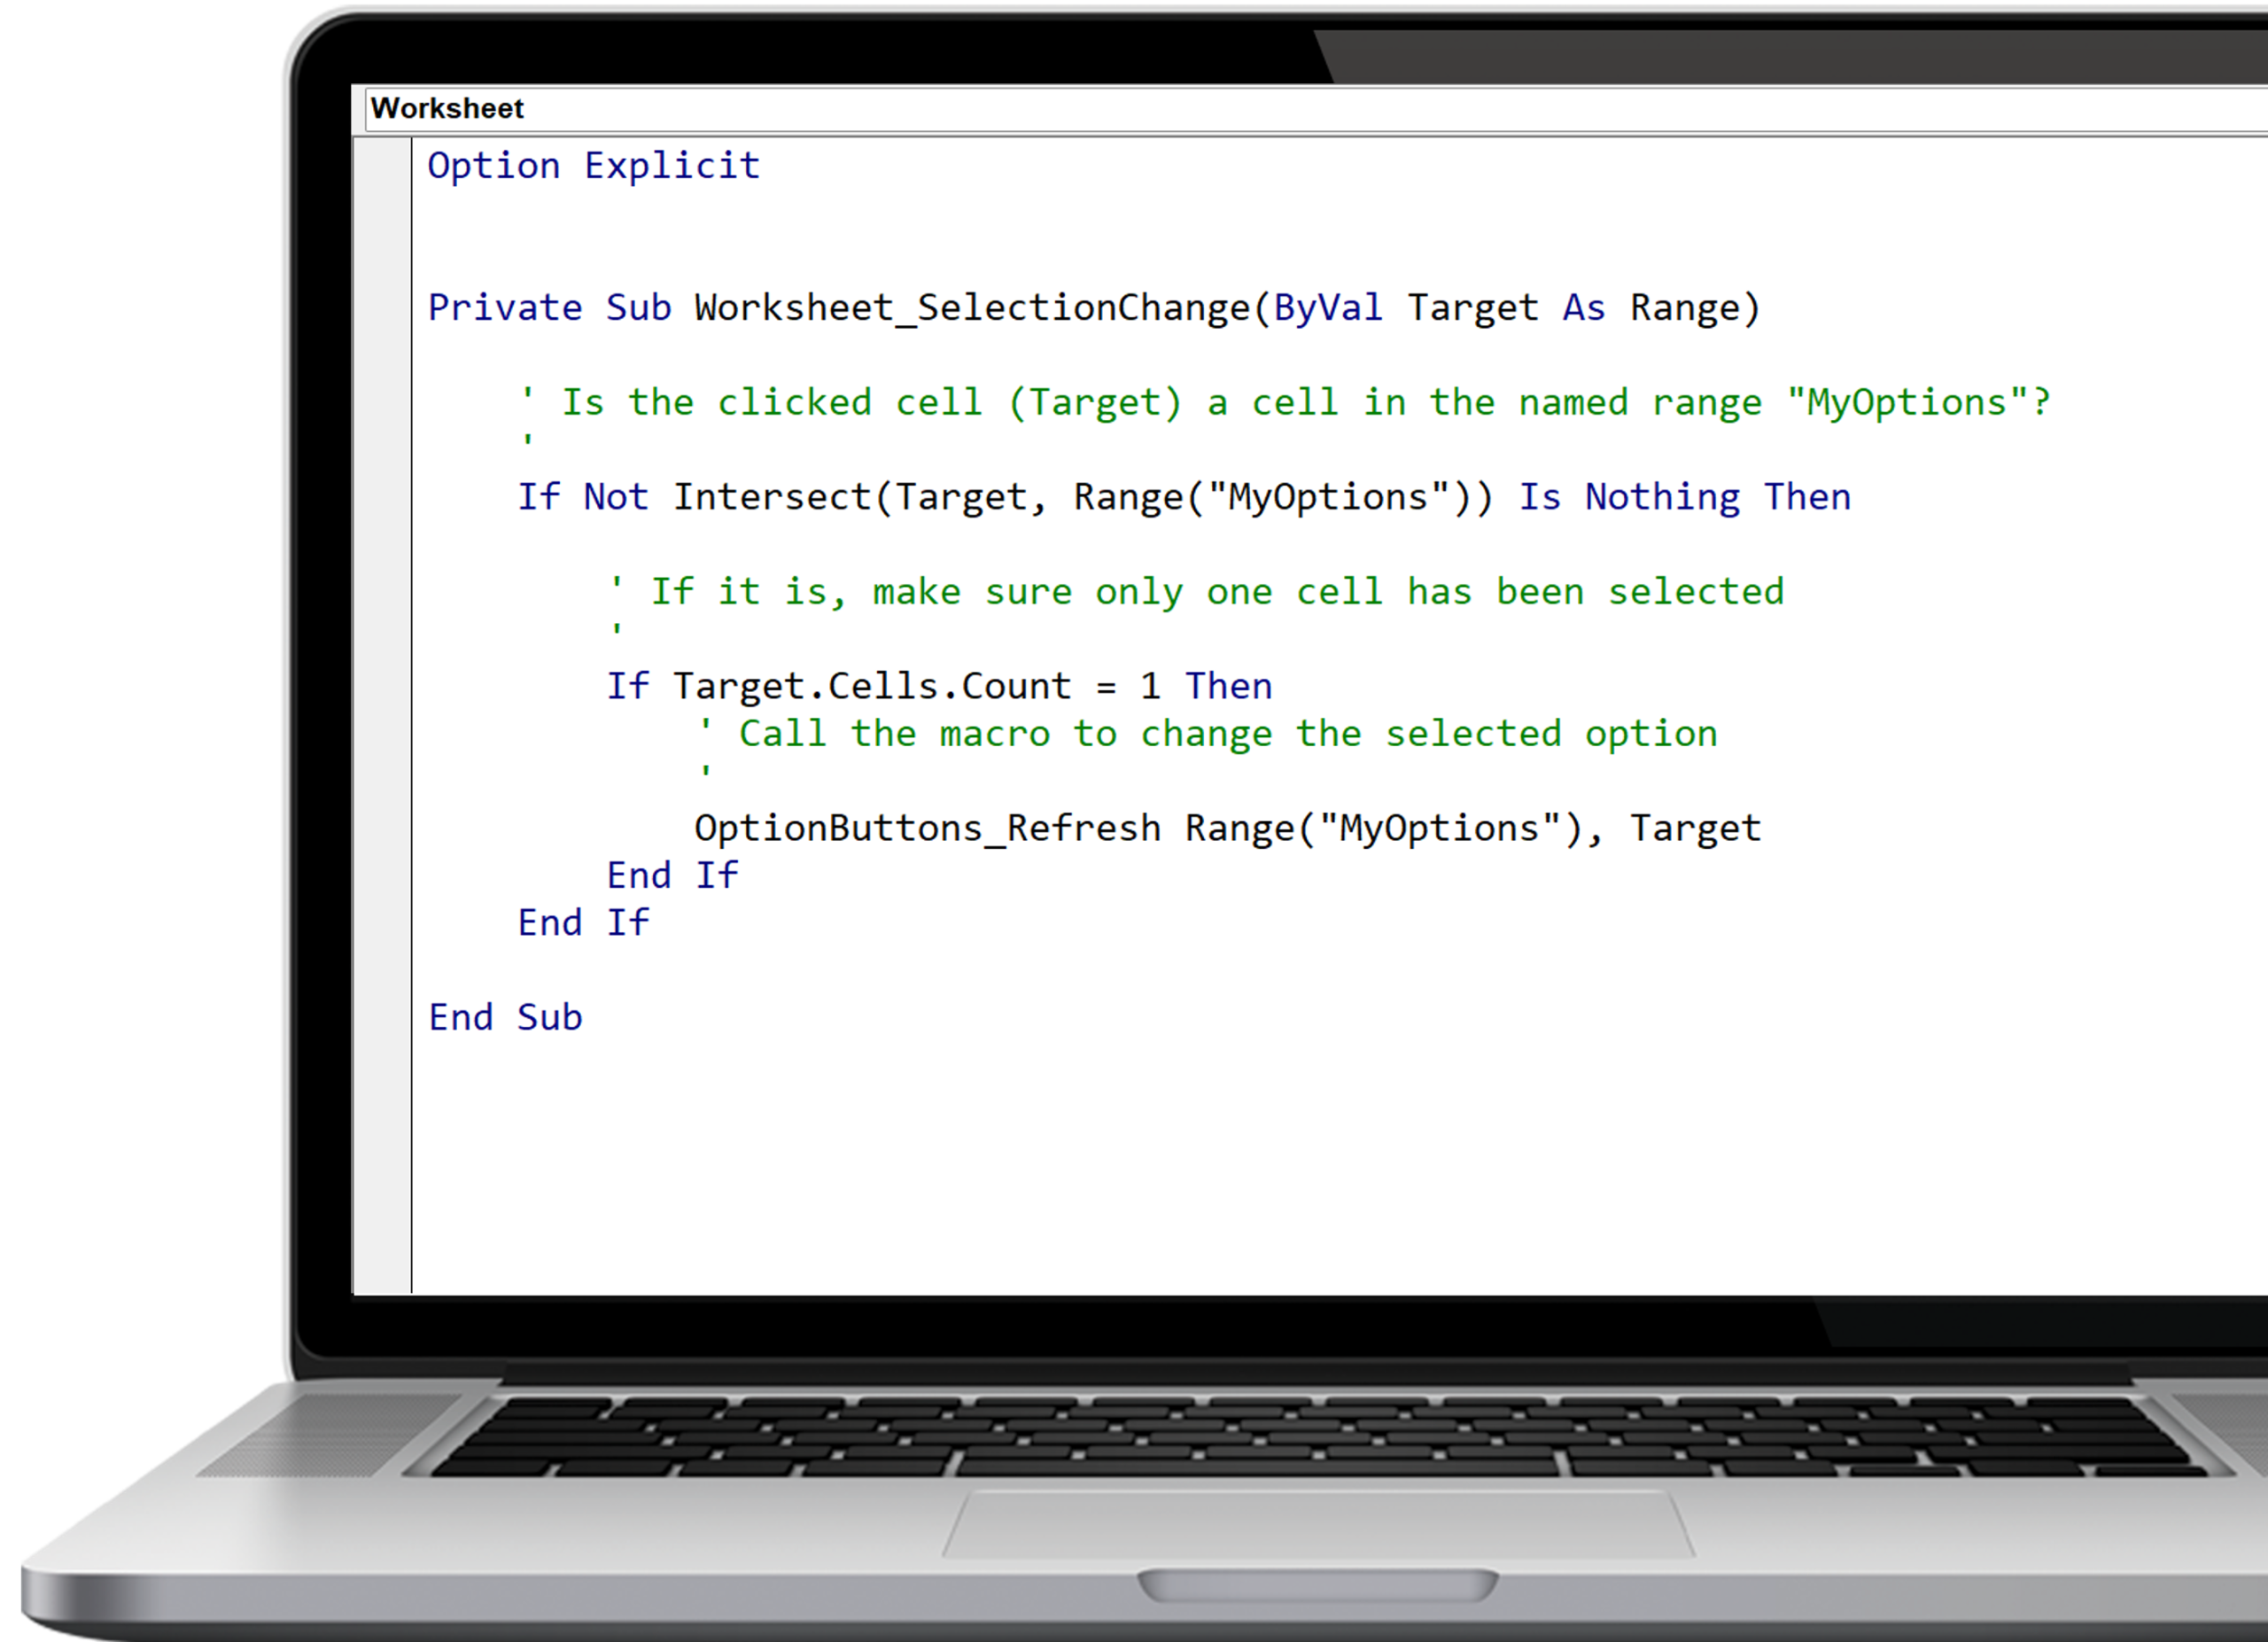
Triggering the Click
Sitting behind the worksheet is a simple macro which checks to see if the cell which has just been clicked is within a named range.
In this example, I named the group of cells with option buttons “MyOptions”.
Here we check if the cell which has just been clicked (the ‘Target’) is within that named range.
And because we only want one option selected, we also count how many cells have been selected.
If everything is good-to-go, we then call a process to change the selected option.
Changing the Option
The process (macro) to change the selected option basically does two things.
First, it reset *all* the cells in the Named Range so they are all unselected.
Then, knowing the selected (Target) cell, it updates just the clicked cell with the 'selected' option.
A couple of other aspects to note:
We also change the font colour to emphasise it. Unselected are grey and the selected is blue. You can use any font colours you like, but it helps to emphasise the selected option.
Finally, the option button characters we saw before in the ‘Symbols’ screen – I’ve applied these as functions so they’re easier to add to your spreadsheet and formulas (although you’d need to make the function Publicly available).
Conclusion
So what do you think?
Are custom option buttons better than using Data Validation with ‘Yes’ / ‘No’ options. Is there a better way?
How would you approach it? Le me know in the comments below.
0 comments